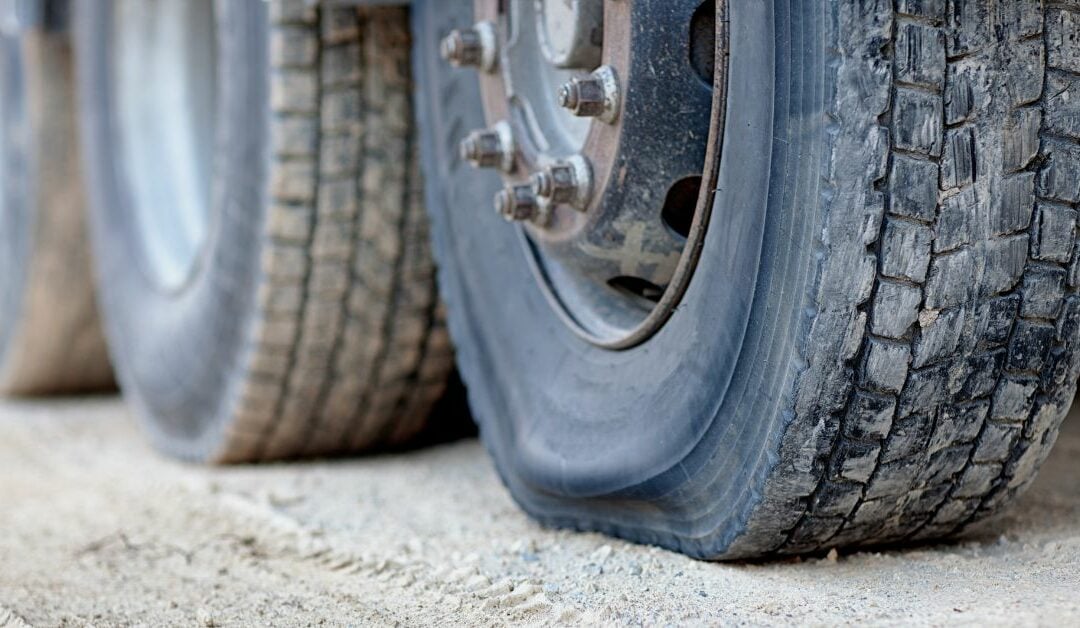
The task of changing a tire on your horse trailer can be intimidating and potentially hazardous if not done correctly. To ensure the safety of both you and your horse, it is essential to adhere to the proper steps when replacing a blown tire. To help you through the process, here are the instructions for safely changing a tire on a horse trailer:
- The most important thing to consider when changing a blown tire is you and your horse’s safety. To make sure that you are safe when changing a tire get off the road. If it is not possible to get off the road find a secondary road or any kind of pullout to park on. Other drivers may be distracted and rear-end a trailer on the side of the road even if the four-way lights are on.
- Park the horse trailer on a flat, level surface and make sure the parking brake is securely in place. Additionally, secure the trailer so it remains stable, as sudden movements could cause injury to you or your horse.
- To ensure the horse trailer remains stable and in place, place wheel chocks on both sides of the tire that is being changed. This will provide an additional layer of security, preventing the trailer from shifting during the tire-changing process.
- Use a lug wrench to loosen the lug nuts on the affected wheel. Make sure to loosen each one equally, so as not to cause any damage to the wheel or the lug nuts.
- Lift the trailer off the ground with a jack and support it with jack stands. Make sure the jack stands are strong and secure and positioned correctly so the trailer is stable. Or drive the trailer up onto a wheel stand if you have one.
- Carefully remove the lug nuts and the wheel, and set them aside in a safe place. This will ensure that the lug nuts and wheel are not damaged in the process.
- Inspect the inside of the wheel hub and the hub flange for any damage that may have occurred. If there is any damage, replace the component immediately. If this is not possible to replace immediately make sure to bring the trailer to a certified repair shop as soon as possible.
- To install the new tire, make sure the valve stem is placed on the outside of the wheel. This will allow the tire to be inflated safely and securely.
- Secure the new tire with the lug nuts and tighten them in a star pattern, ensuring that each nut is tightened evenly. This will help to ensure that the tire is seated properly and that it is secure.
- Once the lug nuts are secure, lower the trailer off the jack stands and onto the new tire. Be sure to lower the trailer slowly, to avoid any sudden movements or jerks.
- Using the lug wrench, tighten the lug nuts in a star pattern once more. This will ensure that the tire is secure and that there is no risk of it coming loose. If you have a torque wrench tighten the lug nuts to the recommended spec.
- When the new tire is secure, remove the wheel chocks.
- To confirm the new tire is securely in place, test drive the trailer to ensure it is properly seated and inflated. This will provide peace of mind that the tire is secure and that the trailer is safe to travel on.
- Once you have confirmed that the tire is properly seated and inflated, it is time to replace the hub cap. This will provide protection to the wheel, and help to keep dirt and debris away from the lug nuts.
- Finally, check the pressure of the tire with a tire pressure gauge. This will ensure that the tire is properly inflated and will reduce the risk of blowouts or flats.
- Be sure to check the tightness of the lug nuts within 100 KM to ensure that they have not come loose.
After completing all the above steps, your horse trailer is now ready to travel safely. Be sure to keep a spare tire and the necessary tools on hand in case of emergencies.

